
When you are using FaceTime, it happens that you accidentally hang up. You could want your kid to talk with her grandparents, but she can’t keep calm without touching a few things here and there.
In such a case, your kid will likely end up hanging up on FaceTime. You can avoid this by finding a reliable way of locking your FaceTime screen, such that no matter what your kid touches, the FaceTime screen won’t exit.
The easiest way to lock the FaceTime screen on your iPhone or iPad is to enable the “Guided Access” feature. With this feature enabled, you can disable basic buttons and screen touch sensitivity. That way, your FaceTime screen will lock, and when you accidentally try to interfere with it, you must enter a passcode to disable the “Guided Access” feature. Hence, you will avoid cases of accidentally hanging up on your iPhone.
This article discusses how the locking of FaceTime screens works. We will investigate why locking the FaceTime screen is essential and give the steps to follow when you must lock the FaceTime screen.
Why Lock FaceTime Screen?
Think about it: You’ve probably been on FaceTime and accidentally tapped the hang-up button. Or maybe you were with your kid, and they couldn’t keep their hands calm and ended up hanging up on FaceTime or causing other interferences.
When you can’t keep your kid off the FaceTime screen, the better approach is to find a way of locking the screen. That way, even if your kid or any other case occurs where your screen is interrupted accidentally, you won’t exit the FaceTime screen.
Again, having a way to lock the FaceTime screen is essential in protecting your kid. It’s one way of implementing parental control. When you lock your device on one screen, such as FaceTime, you limit your kid from accessing other applications as they don’t have the password to exit the “Guided Access” to open other applications.
How Does Locking FaceTime Screen Work?
With the release of iOS 6, Apple introduced the “Guided Access” feature. The idea is to let users use only a specific app. Your entire device will be restricted, and buttons, including the home button, will be disabled until you exit the “Guided Access.”
With this feature, you can enable it and set FaceTime as the specific app that should remain open. That way, you won’t accidentally end up hanging up as all other buttons are disabled, and you can only exit the Guided Access using a password you set when setting it up.
How To Lock FaceTime Screen
We’ve introduced what “Guided Access” is. Now, let’s see how we can use it to lock the FaceTime screen to ensure you avoid a case of accidentally hanging up during FaceTime.
“Guided Access” is a feature available for iOS, and you can enable it from your settings with the steps below.
- Open your Settings app on your iPhone or iPad.
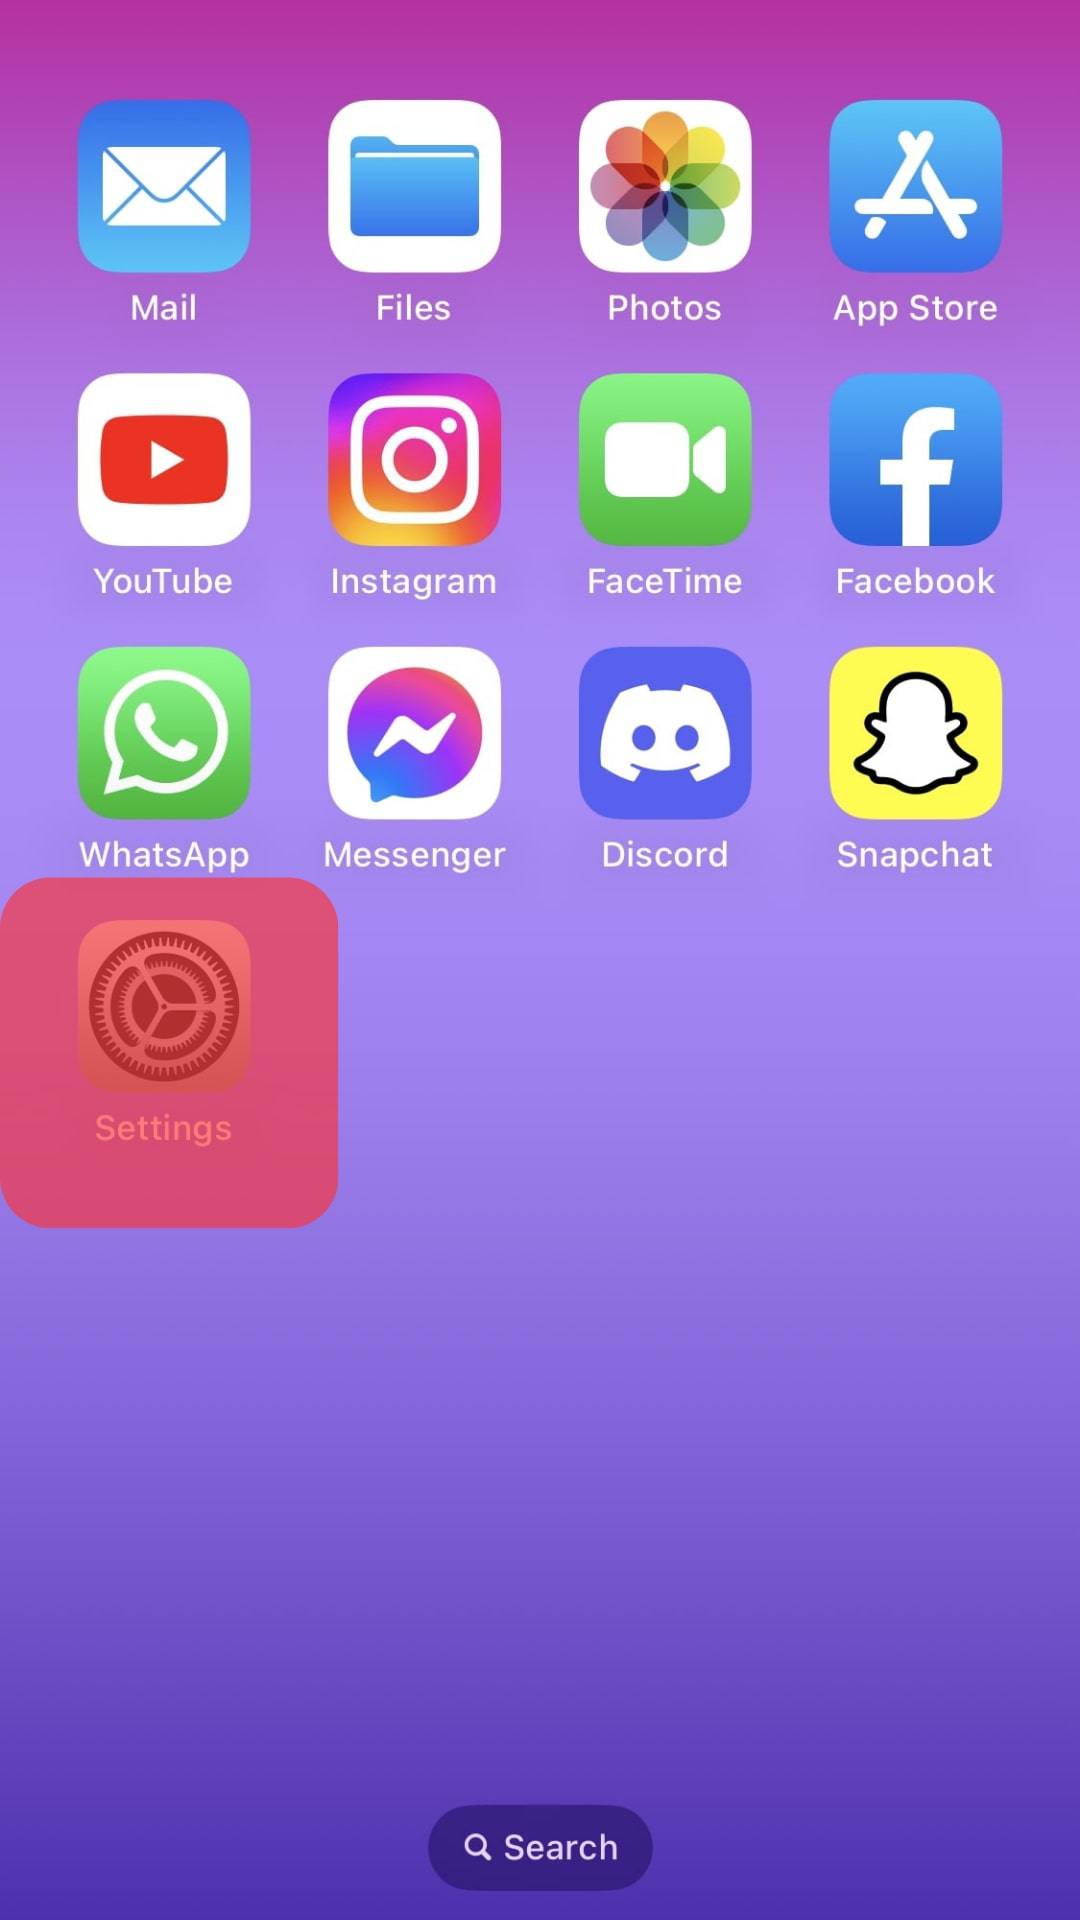
- Tap the option for “Accessibility.”
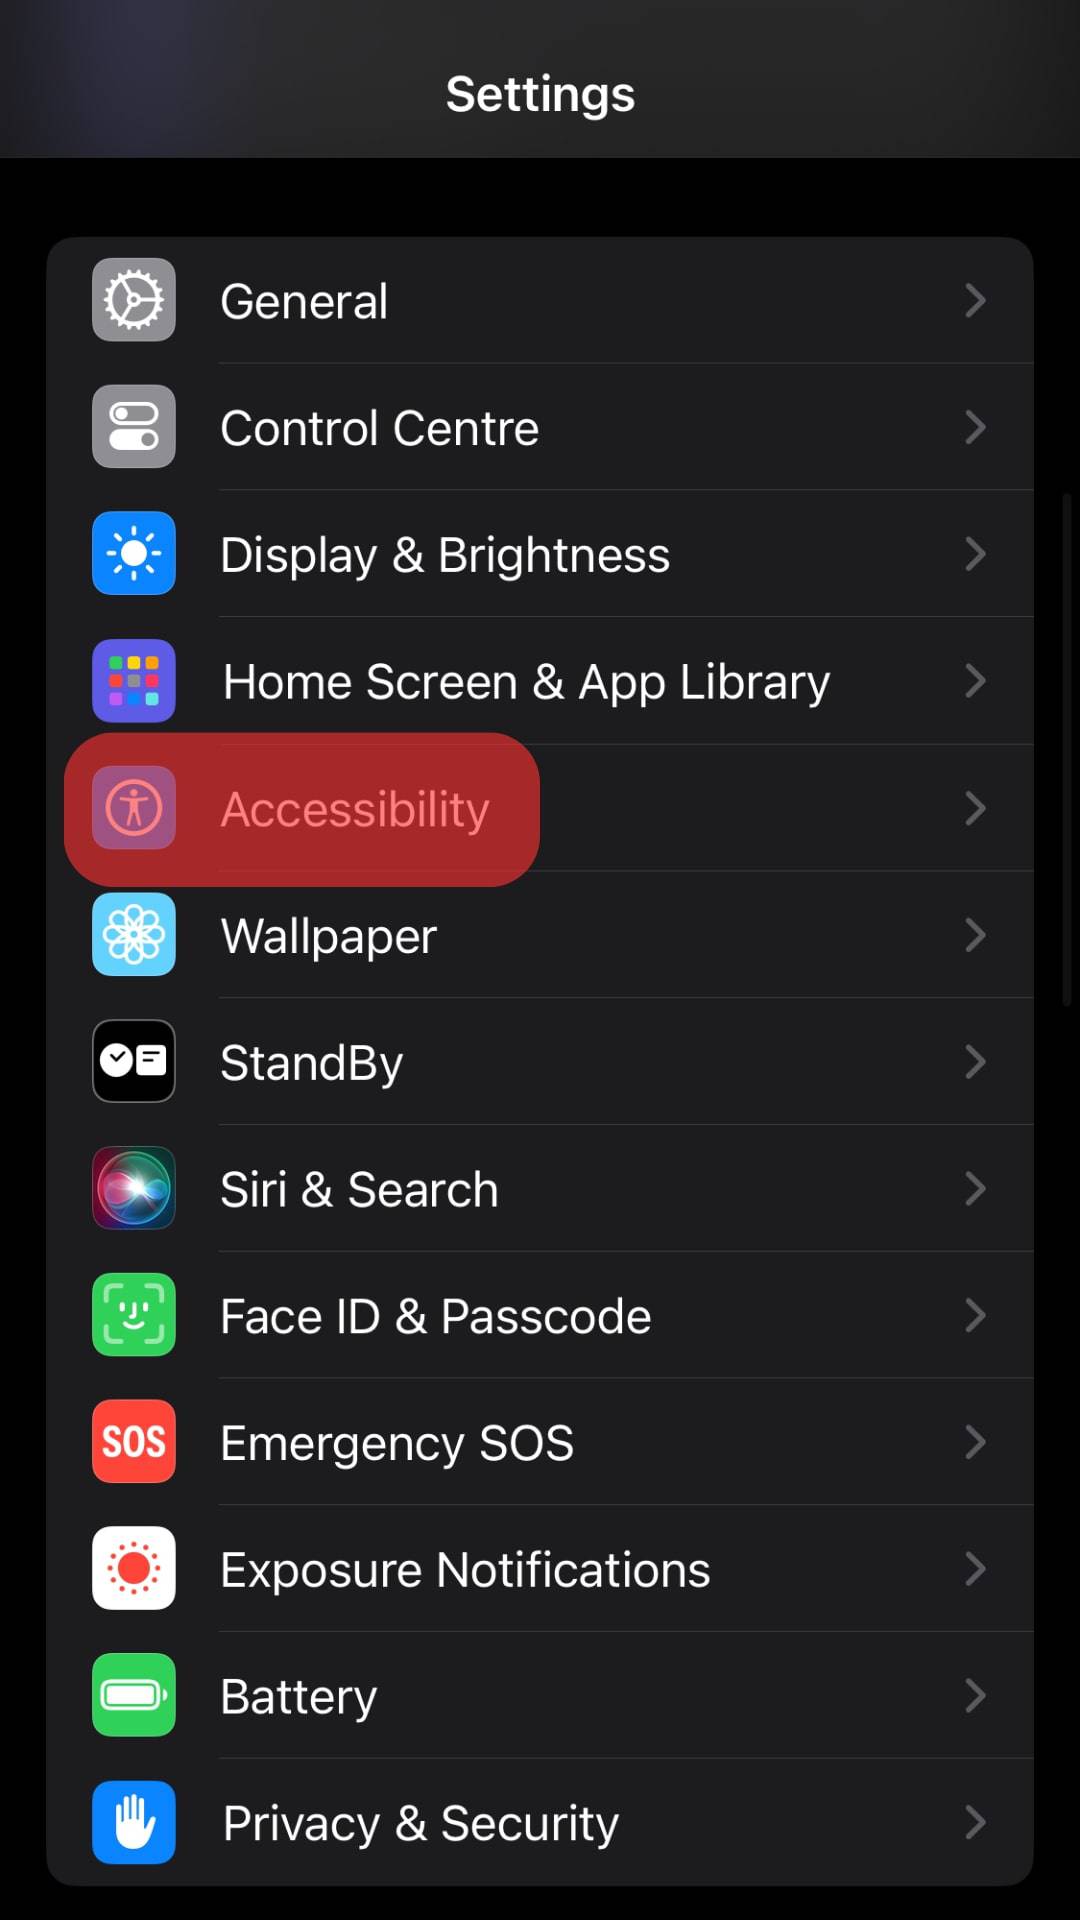
- Locate the option for “Guided Access” and tap on it.
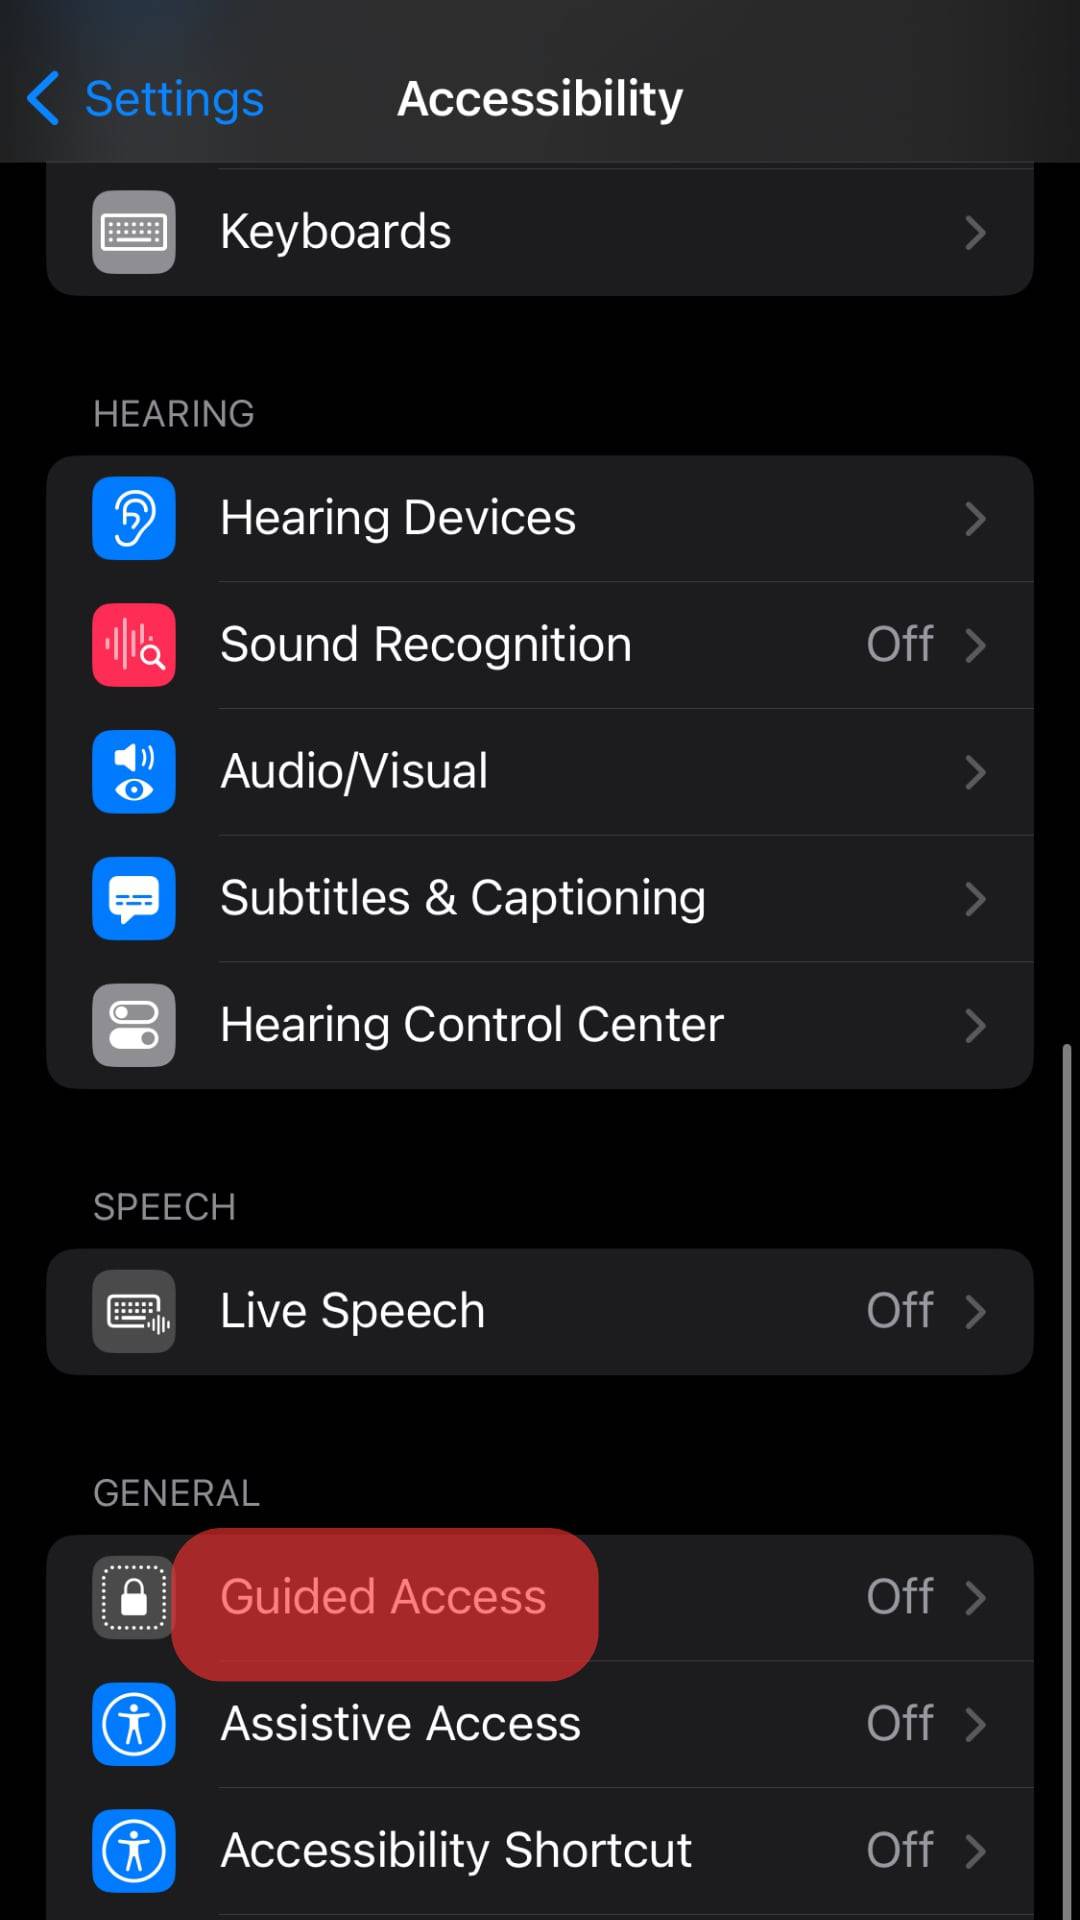
- Toggle on the switch next to “Guided Access.”

- Tap the option for “Passcode Settings.”
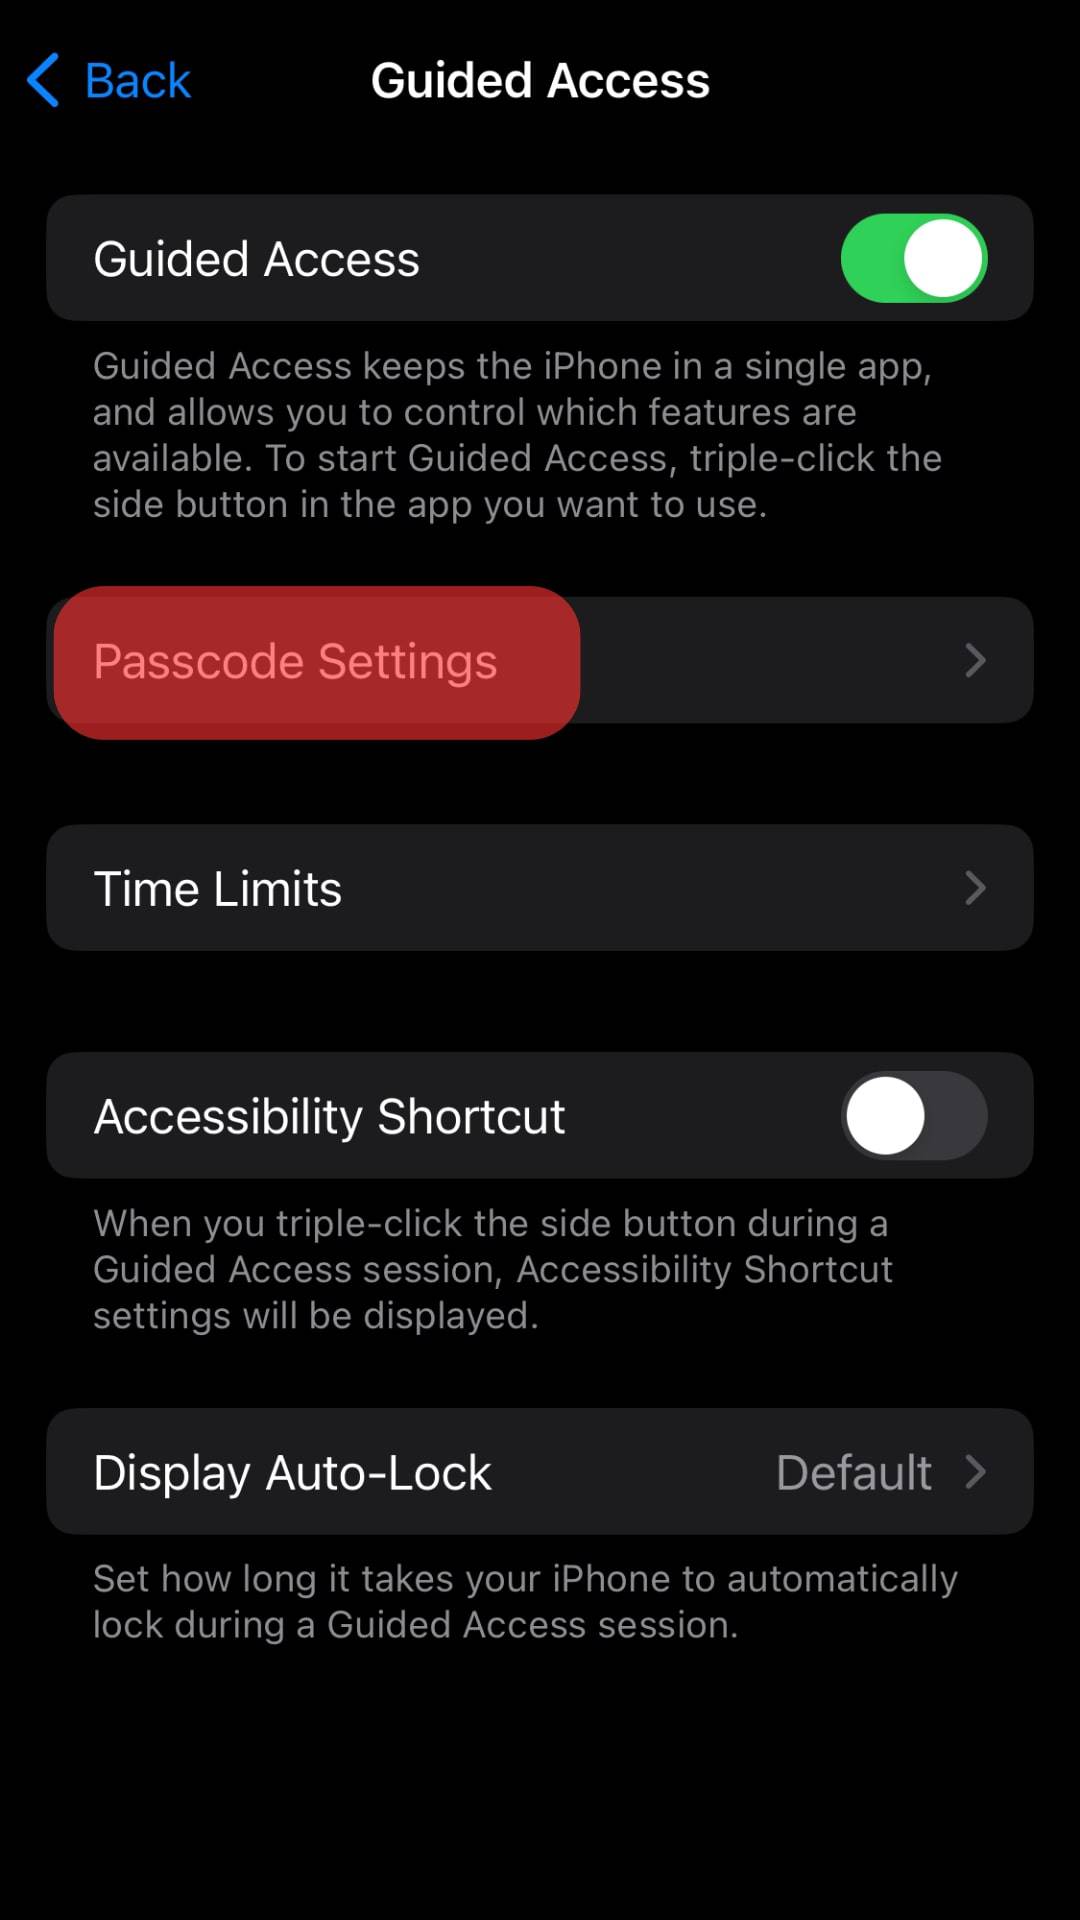
- Select the “Set Guided Access Passcode” option, then set your password for the Guided Access. Here, you are free to set any random passcode that doesn’t match the one you use for your phone lock.

- Open your FaceTime app and initiate your call.

- Triple-click the home button to bring up the “Guided Access” menu.

- Tap “Options” at the bottom and disable the “Touch” feature.
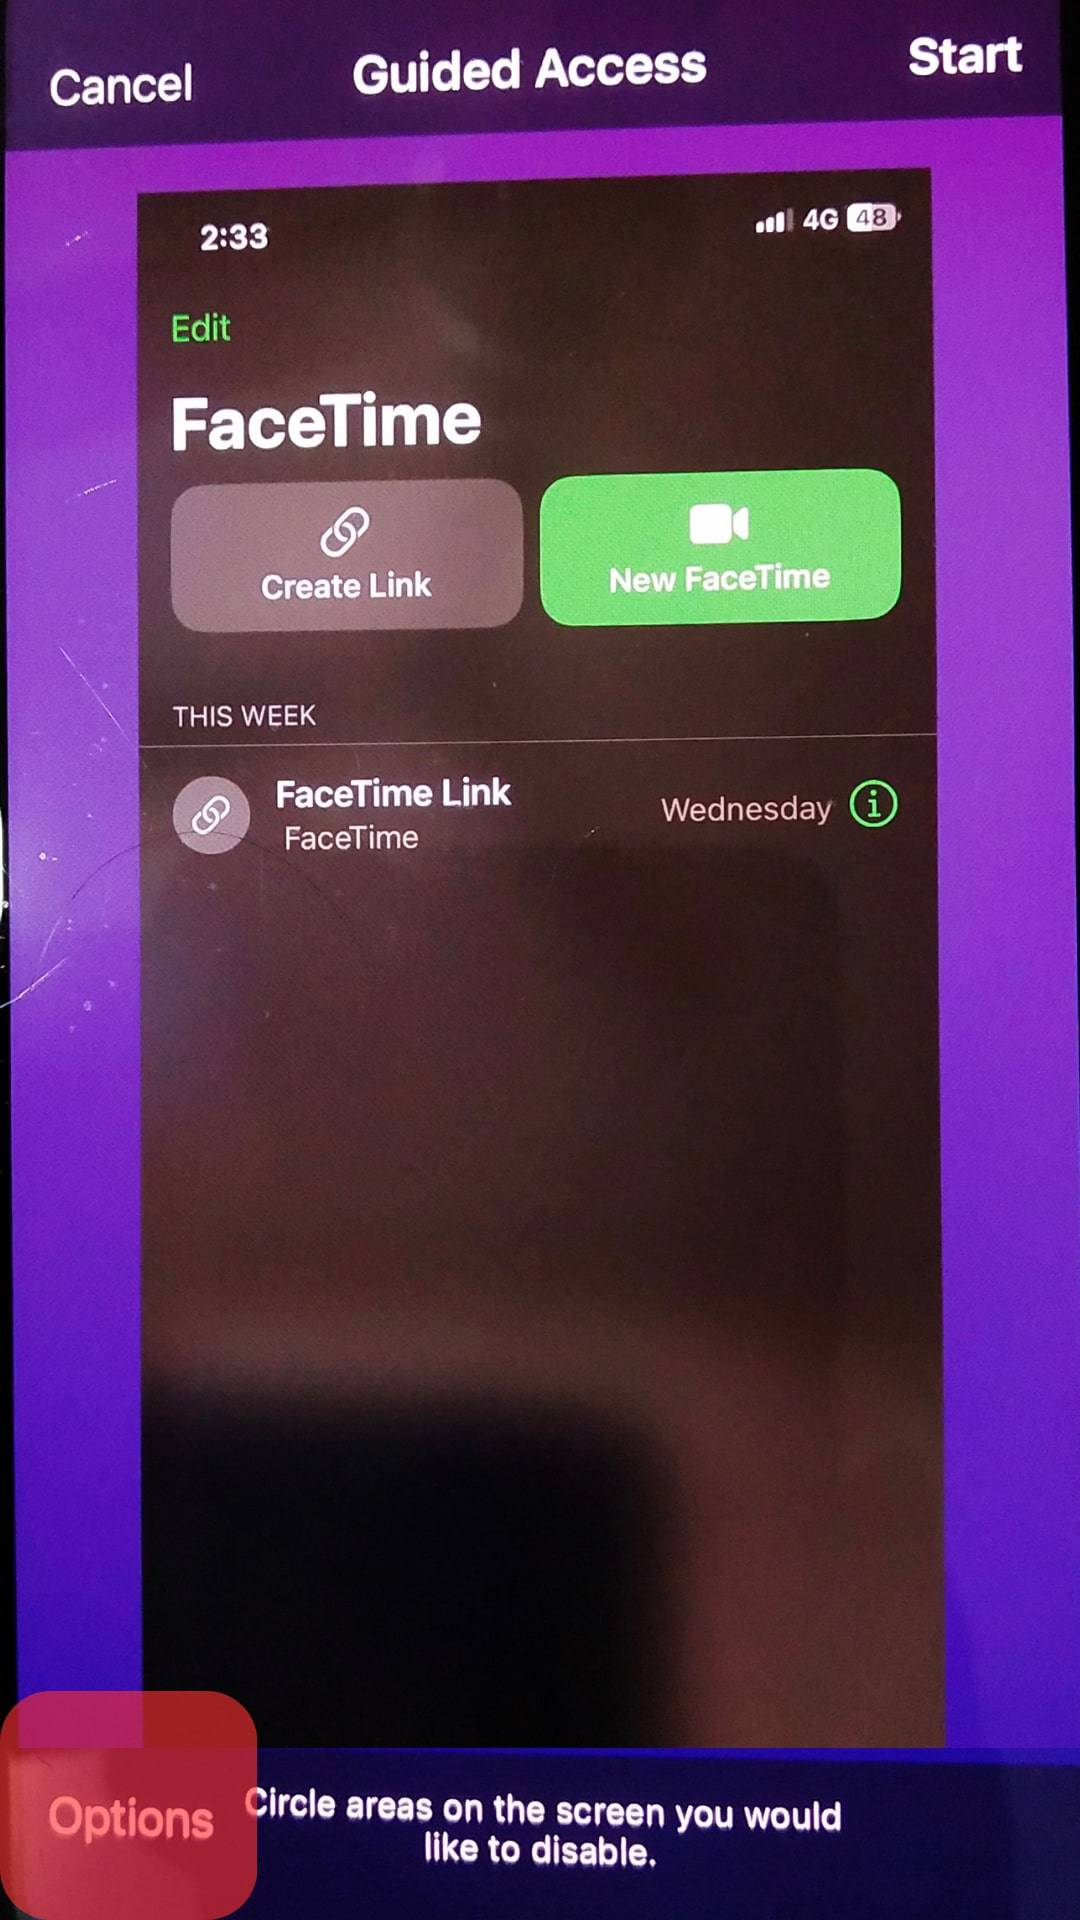
- Lastly, hit the “Start” button.
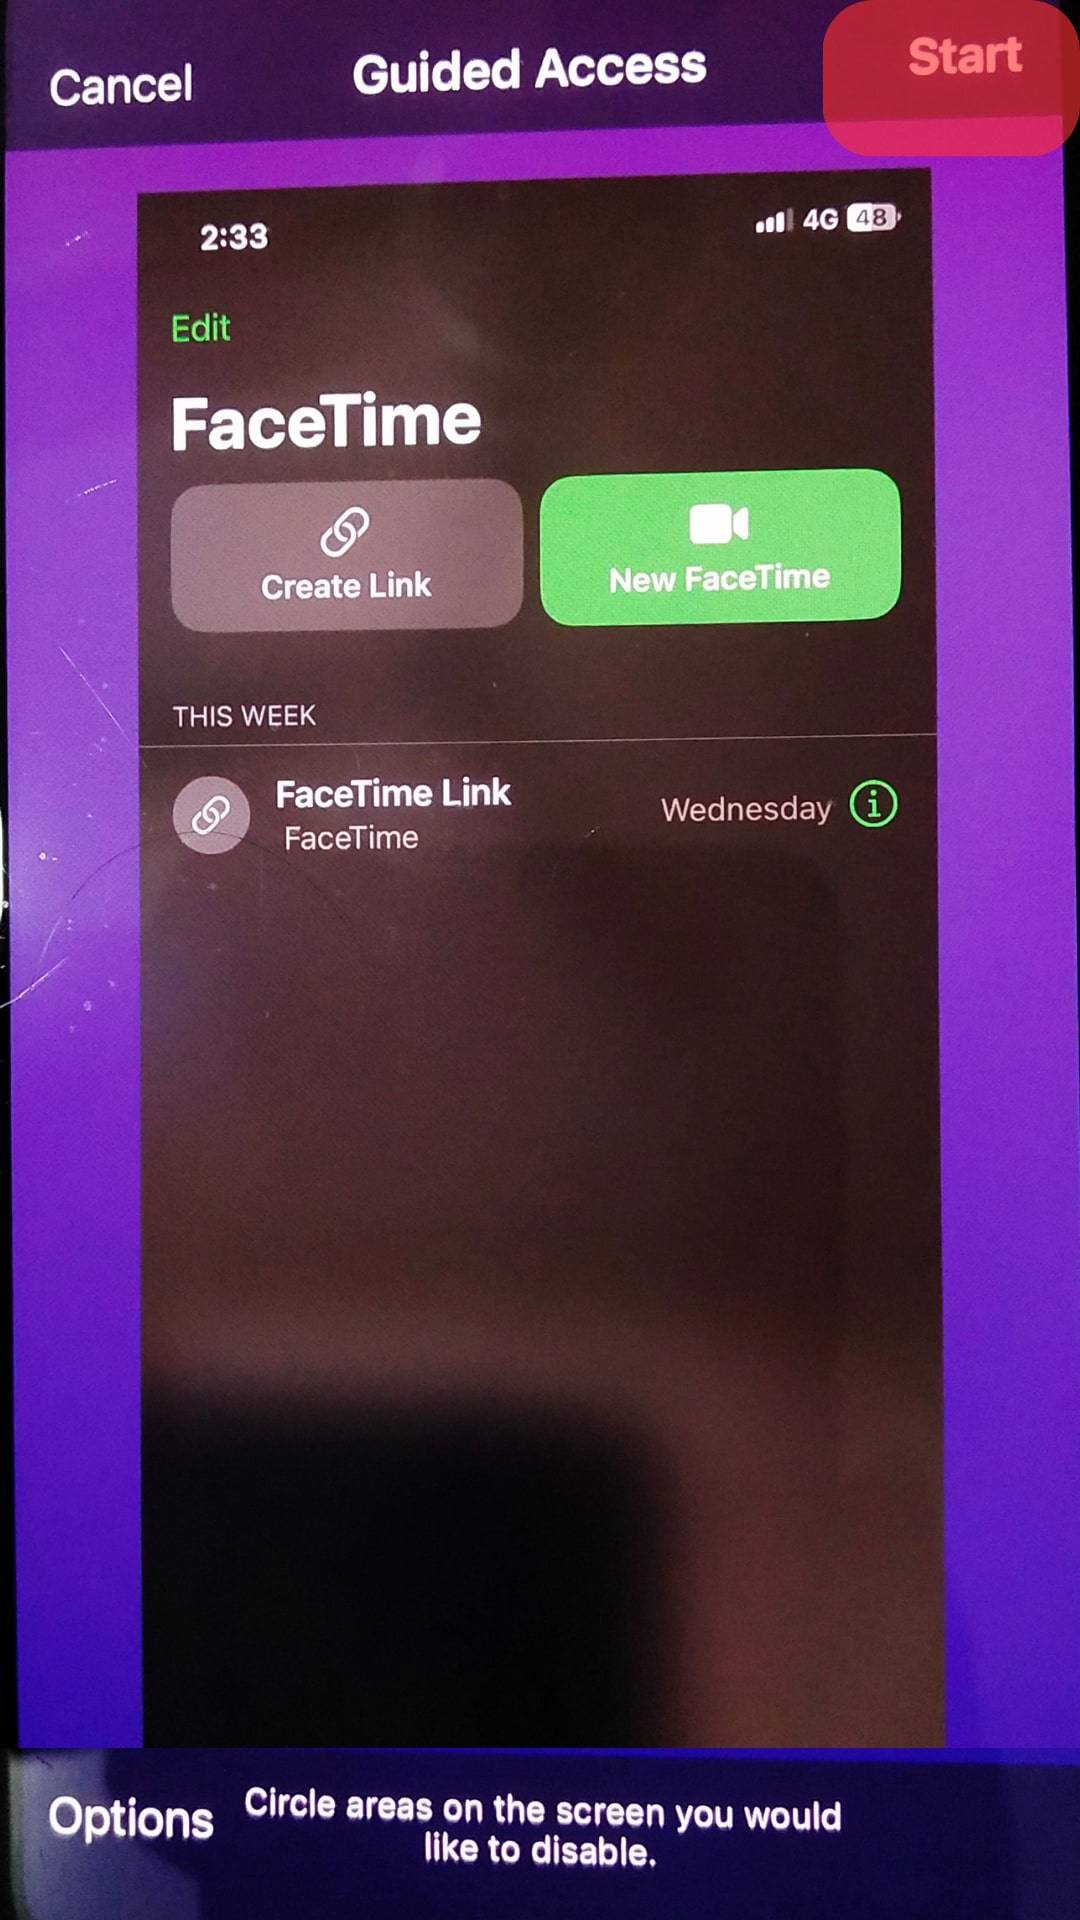
Your FaceTime is now locked, and the “Touch” feature is disabled. Thus, you won’t accidentally hang up on FaceTime. When your call ends, you can triple-click the home button, enter your passcode, and disable the “Guided Access” feature.
Conclusion
When using FaceTime, you can enable the Guided Access feature to lock your FaceTime, such that features like touch won’t work until you enter your passcode. We’ve detailed the process in detail and how it works. Try that on your end to see how that works.
