Over the years, there has been a tremendous increase in Instagram’s daily users. Due to this, Instagram has added many different features to its platform. One of the features added to Instagram is the ability to Archive Instagram posts. This feature does come in handy, especially in managing your account.
We have all been there – we delete our Instagram posts, but in a couple of days, we wish to repost them. Instagram makes that very easy. But sometimes, we would like to mass archive our posts but have no clue how to do it.
Mass archiving can only be done using third-party apps, as Instagram does not support this feature. The best tool we have found is “Click Assistant – Auto Clicker.” You can find the step-by-step solution below.
In this article, we will first discuss the archive feature on Instagram, then give you a tutorial to archive posts and move on to mass archiving. Finally, we will also provide you with a way to unarchive posts on Instagram. Let’s Dive in!
What Is Instagram Archive?
Occasionally everyone changes their mind about things they post. Unfortunately, making up their mind about a particular post seems very hard for some.
Sometimes, the post is so good, and you never know when it will catch your fancy again. So, deleting this said post is not an option.
However, the Instagram archive option will provide the solution to your dilemma. Using this feature, you can temporarily remove a post and hide it from your page, then put it back when you change your mind – the perfect solution for the indecisive among us. Isn’t that just incredible?
This innovative tool helps you move some of your not relevant-at-the-moment posts to a part of your profile that is only accessible to you. In addition, you get to remove posts without deleting them and restoring them whenever you want.
It can also come in handy when sharing memories and increasing engagement on your post; plus, it gives you complete control over your post. Although archiving a post is done manually, you can automatically set your stories to archive after 24 hours.
Archiving a Post on Instagram
Archiving a post on Instagram is a simple task:
- Open Instagram and log in.
- Navigate to your profile.

- Select the post you want to archive.
- Tap on the three-dot button in the top right corner of your post.

- Select “Archive,” and the post will disappear from your profile.

That’s it! Easy right!
Mass Archiving Your Instagram Posts
It is undeniable that the Instagram archive tool is useful. However, what happens when you have multiple posts to archive? It is very time-consuming to archive multiple posts one by one.
Unfortunately, Instagram does not support bulk archiving. But don’t worry; there are ways you can archive multiple posts. So without wasting your time, let’s explore the different ways to mass archive your post.
Some apps can allow you to mass archive posts on Instagram. A good example is the “Click Assistant – Auto Clicker.” This application can record your action and repeats it automatically for other posts.
The Click assistant is designed for android users, but there are other similar apps for iOS too. We would take you through the process of using Click Assistant to mass archive Instagram posts.
- Download Click Assistant – Auto Clicker from the Google Play store.
- Open the app and click the “Start Service” button. The auto clicker tool will appear on your screen.
- Now, open your Instagram and go to your profile.
- Select the posts that you want to mass archive.
- Tap the circle from the toolbar.
- Select the three-dots button at the top right corner.
- Select “Archive” from the drop-down menu, then tap the top bar of the application.
- Click “done” – the green button on your screen. It signals the end of the recording. Steps 5, 6 & 7 will be recorded to archive other posts.
- To archive the rest of the post, tap on the play button on the toolbar.
- End the process by tapping the “X” button on the toolbar.
- All archive posts will appear in the archive section of your profile.
Unarchiving Your Post
Finally, if you do change your mind about your archived post, here is how you can add it back to your profile:
- Open the Instagram app.
- Go to your profile.

- Tap on the menu icon in the top right corner.

- Select “Archive” from the drop-down.

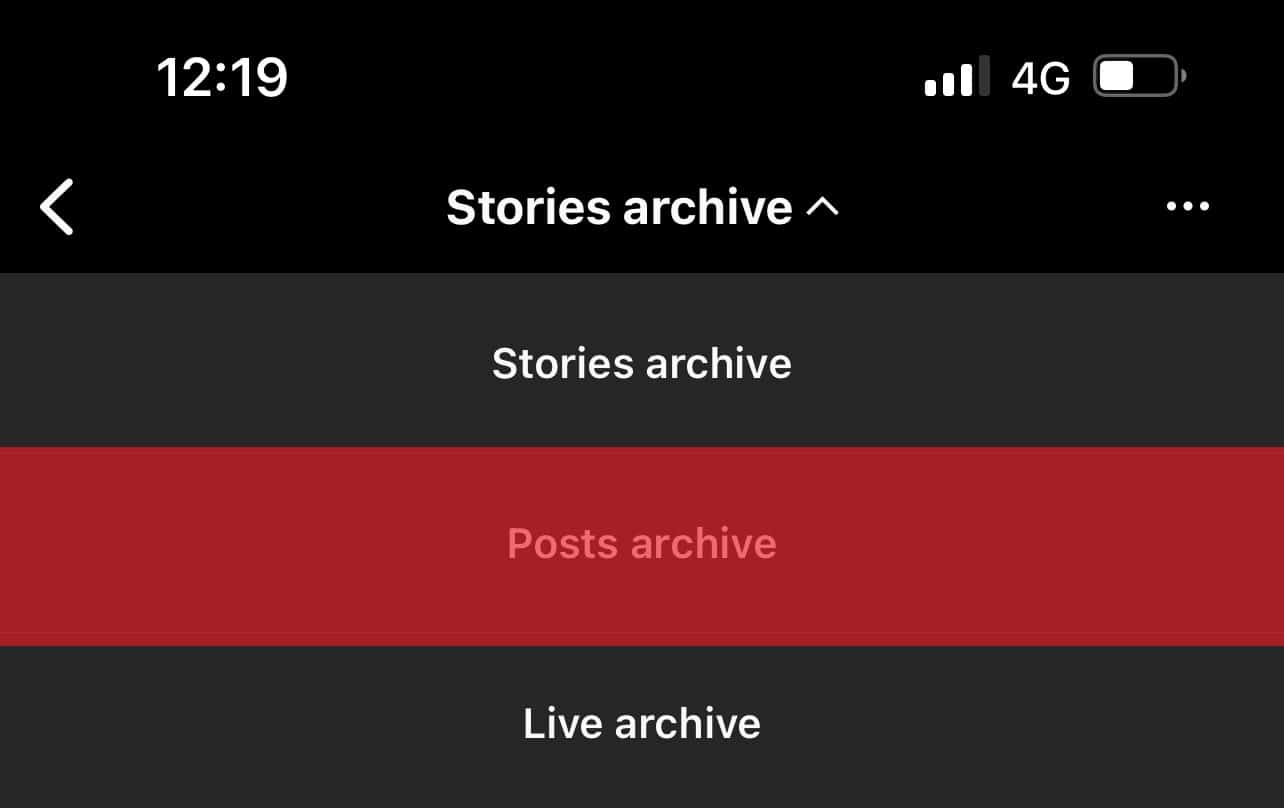
- Select “Post archive” from the top bar.

- Go to the post you want to return to your profile.
- Tap on the three dots in the top right corner.

- Select “Show on profile.”

Summary
To sum it up, the Archive feature enables you to temporarily remove a post and unhide it when you need it again. We have discussed the process of archiving and unarchiving your post.
The key takeaway is that mass archiving of your post can only be achieved with the help of third-party apps.
We hope this guide has provided all the necessary information you need to navigate the Instagram archive feature. Now you don’t have to permanently delete any lovely posts again!
FAQs
There is no limit to the number of posts that you can archive on Instagram; however, there is a limit to the number of posts that can be loaded in the app at one time.
Yes, you can! Go to your profile, go to “settings,” and select “story Archive.” Next, click on “delete all archive stories,” then select “yes, delete my stories.”


