Streaming is popular among Discord users. It could be you want to capture your created content using Discord and want a reliable tool to support your task. In that case, using Logitech capture is a reliable option.
With Logitech Capture, you can record high-quality videos and worry less if you are stuck on how to use the Logitech Capture with Discord. We will discuss it all today.
To use the Logitech Capture, you can use it with your default camera or purchase a Logitech webcam. Visit the Logitech website, download and install the “Logitech Capture” software. Once installed, open your Discord app and the installed Logitech Capture. Click the display icon on the left and set your Discord as the first source. Next, set your webcam as the second display, then customize the arrangement of the displays.
We will detail how to use Logitech Capture with Discord. We will see how to capture the Discord screen when recording your screen as you speak. That way, you will know how to create content and record your Discord using the Logitech Capture tool on Windows or Mac.
What Is Logitech Capture?
You may want to record the Discord session while streaming on Discord or create content you want to share with friends. Whatever the case, having a recording utility you can rely on will be handy.
Logitech Capture is a free software provided by Logitech to support video recording. The Logitech Capture works seamlessly with the Logitech Webcams, enabling content creators to capture and edit videos using different tools.
Its interface is simple, and you can utilize numerous setting options to achieve a high-end recording experience. Logitech Capture supports numerous sources, and you can record two display windows from the same utility. Besides, you can adjust different elements, such as exposure, filters, etc., in real-time.
How To Use Logitech Capture With Discord
When you want to record your Discord window, Logitech is an excellent recording utility. Besides, you can simultaneously open two display windows and arrangement on the same window during the recording.
Here, we will configure a Logitech webcam to use with the Logitech Capture on Mac and Windows. Follow along!
On Windows
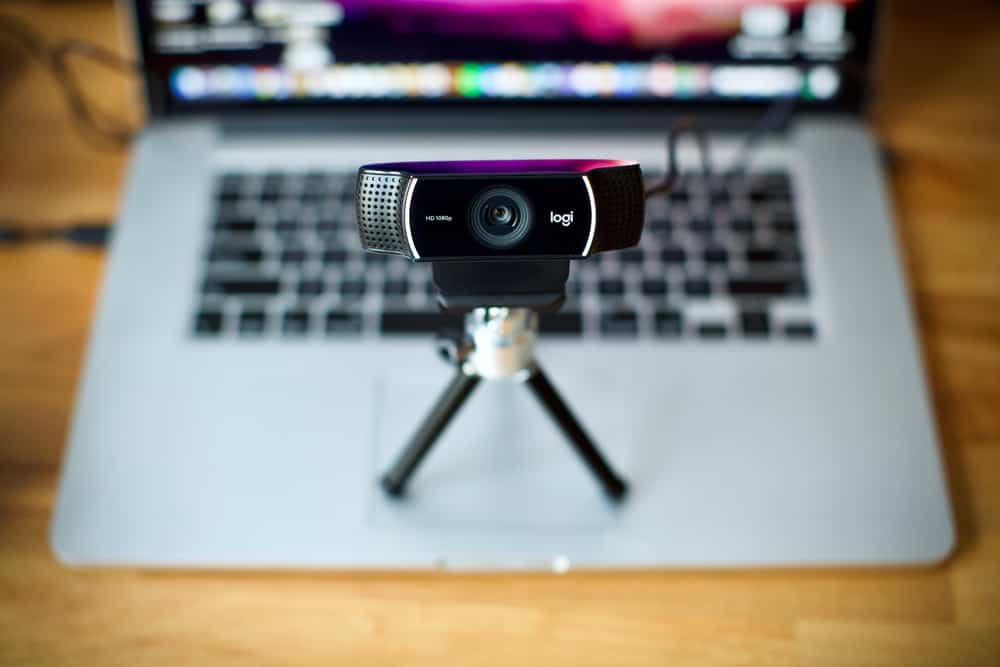
First, put your Logitech webcam on a tripod or screw it on your monitor and plug the webcam’s USB cable into an available USB port on your laptop/computer. If that’s done, continue with the steps below.
- Open the Camera app on your Windows. If you see yourself, it means the Logitech webcam is well configured.
- Open the Settings app on your Windows.
- Click on “System” and navigate to “Sound.”
- Find the “Input” section and select the Logitech Webcam as the source.
- Visit the Logitech website.
- Download the “Logitech Capture” for Windows.
- Open the downloaded file and double-click on the installer file.
- Follow the on-screen instructions to complete installing the software.
- Open your Discord app and navigate to the server you wish to record.
- Open the installed Logitech Capture app.
- Once it opens, click “Display Monitor 1” on the left sidebar.
- Select your source, such as the Discord window.
- Click “Display Monitor 2” and set your Windows or Logitech webcam as the second source.
- Click on the arrangement icons at the bottom and set the arrangement for the displays on the Logitech Capture.
You can then record the displays in real-time or switch between them.
On Mac
Here’s how to set up the Logitech Webcam and use the Logitech Capture.
- Connect your Logitech Webcam to your Mac.
- Test the webcam by opening a video app, such as FaceTime.
- Visit the Logitech website.
- Download the “Logitech Capture” for Mac.
- Open the downloaded file and install it.
- Open your Discord app and the Logitech Capture app.
- Select your first source on “Display Monitor 1” on the left sidebar.
- Click “Display Monitor 2” and set your webcam as the second source.
That’s it!
Conclusion
When your webcam is in place, you can use the Logitech Capture with Discord using the steps we’ve covered in this post. Have fun!
