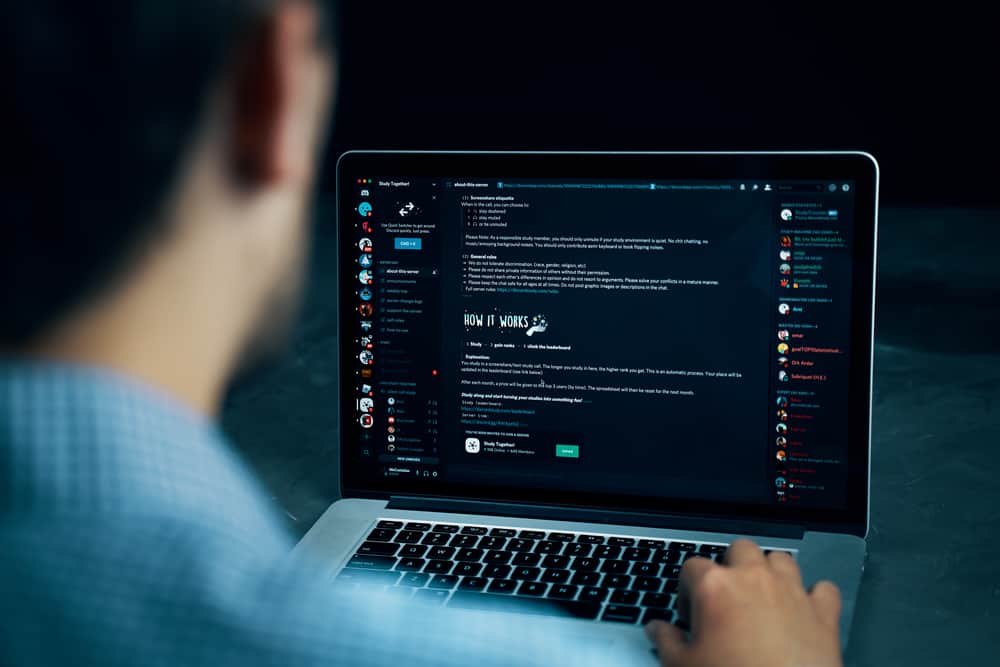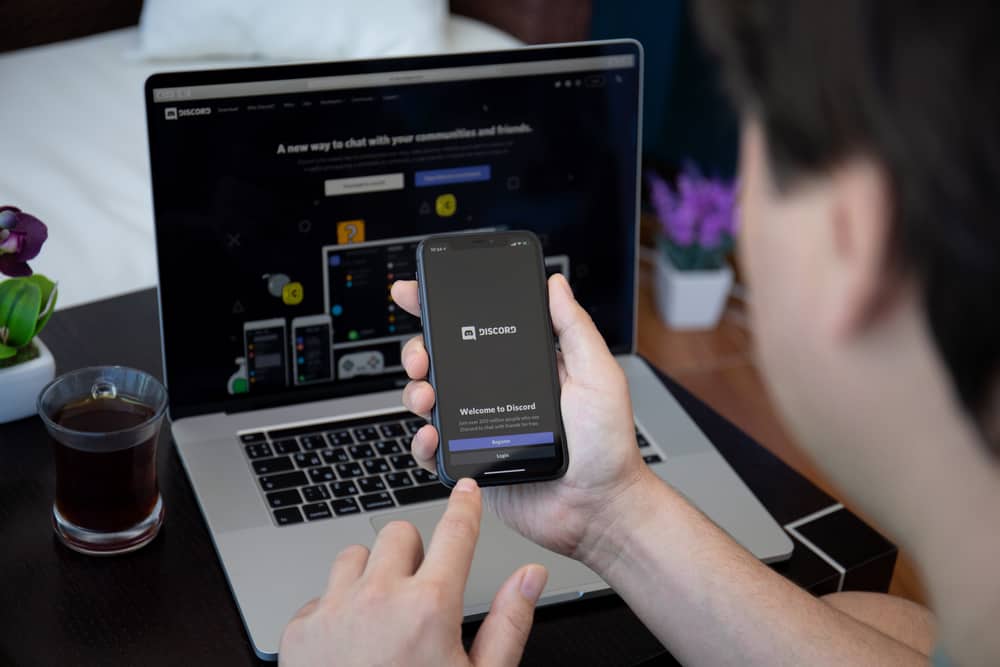
Discord is the go-to option for many people to connect via gaming activities and video calling. It is particularly popular among gamers who use it for various purposes, including voice chatting while gaming and chatting with friends.
If you stream often, then you understand the importance of having an appealing layout for your videos. Thankfully, the OBS Virtual camera connects with streaming software and applications like Discord to acknowledge OBS studio as your video source.
If you want to improve your streaming, you may wonder how to use the OBS virtual camera on Discord.
To use the OBS virtual camera on Discord, you must first install the OBS studio on your PC. Next, add your webcam and tap “Start Virtual Camera.” When set up, navigate to Discord’s “Voice & Video” settings and select “OBS Virtual Camera” under the “Camera” section.
To fully make the best of the OBS Virtual camera while streaming on Discord, some other details and tweaks might help you have a clean setup.
Read on to learn more about OBS virtual camera and how you can use it conveniently on Discord.
What Is an OBS Virtual Camera?
OBS (Open Broadcast Software) Virtual camera is an essential feature of the OBS studio – a video recording and editing software. It permits you to connect your OBS studio scenes with streaming and video platforms that use a webcam.
In other words, the virtual camera acts as your video source. It acts as a webcam in other software like Google Hangout, Discord, Skype, etc.
That way, you can stream your activities on computer calls and conferences to different platforms simultaneously.
OBS Virtual camera is a convenient option among streamers because of its excellent features. For example, you can customize your screen layouts to make them look more presentable.
Also, you can share your screen and camera while doing other tasks. You may add effects, text, overlays, and play sounds without one activity affecting the other. All of these combine to give you a fascinating stream.
Discord and OBS Virtual Camera
As a platform for most streamers, Discord is the perfect software for OBS Virtual camera.
The software makes it easy to capture and record your screen activities, such as online calls, webinars, conferences, football discussions among friends, etc. Also, you may use it to record video guides, online courses, and tutorials.
Suppose you launch a video channel with an OBS Virtual camera; you can show your friends a live feed of your screen, videos, and images. This replaces your webcam. You may also add filters and effects to the layout of your screen.
With such great features for your live streams on Discord, it’s too good to pass OBS virtual camera over. So, how do you use an OBS Virtual camera on Discord?
How To Use OBS Virtual Camera on Discord?
Before using an OBS Virtual camera on Discord, you must set it up on your computer. The camera used to be a plugin, but it no longer requires that.
OBS has integrated the plugin within the OBS studio. You can find an OBS Virtual camera in the latest OBS software of OBS.
Step#1: Download and Install OBS Studio
Head to obsproject.com to download the latest OBS Studio application. Ensure you download and install the appropriate one, as it has different versions for Windows, Mac, and Linux.
When downloaded, launch the installer and follow the on-screen instructions.
Step#2: Launch OBS Studio
Once you’ve downloaded and installed it, launch the software by opening it. You will be required to indicate what you want to use the software for.
Select the “I will only be using the virtual camera” option and click “Next,” and then click “Apply Settings.”
Step#3: Set Up Your Webcam
Next, the software will require you to set your desired webcam as a source device. To do this:
- Find the “Sources” box at the bottom of your screen.
- Click the plus sign (“+“) within the box.
- Select “Video Capture Device” from the options, then click “OK.”
- Select your “OBS Virtual Camera” and tap “OK.”
Step#4: Start Virtual Camera
After setting up the video capture device, you will see your webcam feed on the screen. Select “Start Virtual Camera” at the lower right of the screen to activate the OBS Virtual Camera.
This option will also allow you to use it on any platform that supports webcam use.
Step#5: Choose OBS Virtual Camera on Discord
Follow these steps to choose OBS Virtual Camera on Discord:
- Open Discord on your PC.
- Click the settings icon at the bottom left.
- Select “Voice & Video” from the left navigation.
- Scroll down to “Video Settings” and click “Test Video.”
- Select the “OBS Virtual Camera” option in the “Camera” section.
The camera will be set by default to your in-built webcam. However, you have to switch it to OBS Virtual Camera by clicking “CAMERA” under your video preview. Then select “OBS Virtual Camera.”
How To Integrate OBS Virtual Camera to Discord on Mac?
OBS has connected the Virtual Camera to the Mac OBS Studio app. So you don’t need to download a separate plugin.
If you use Mac, you may wonder if the process of adding an OBS Virtual Camera to Discord on Mac is different from Windows.
The answer is they are the same. Follow the instructions below to add the virtual camera to your Mac computer:
- Download the OBS Studio program.
- Set up your webcam.
- Click “Start Virtual Camera.”
- Navigate to the Discord settings.
- Select “Voice & Video” from the options.
- Under “Video settings,” tap “Test Video.”
- Click “Camera” and choose “OBS Virtual Camera” as the source camera for Discord.
Conclusion
Discord allows you to stream live your screen activities. But it’s never harmless to seek improvement.
Thankfully, OBS Virtual camera helps you get more out of your streaming with unique features such as screen filters, effects, and superb layouts.
These make you enjoy your video calls, conferences, and webinars more. This guide will help you use the OBS Virtual Camera on Discord.


